Concrete Base for Sheds & Cabins
Mar 27, 2024
Get the Strong Foundation You Need: The Benefits of Installing a Concrete Base for Your Shed or Cabin
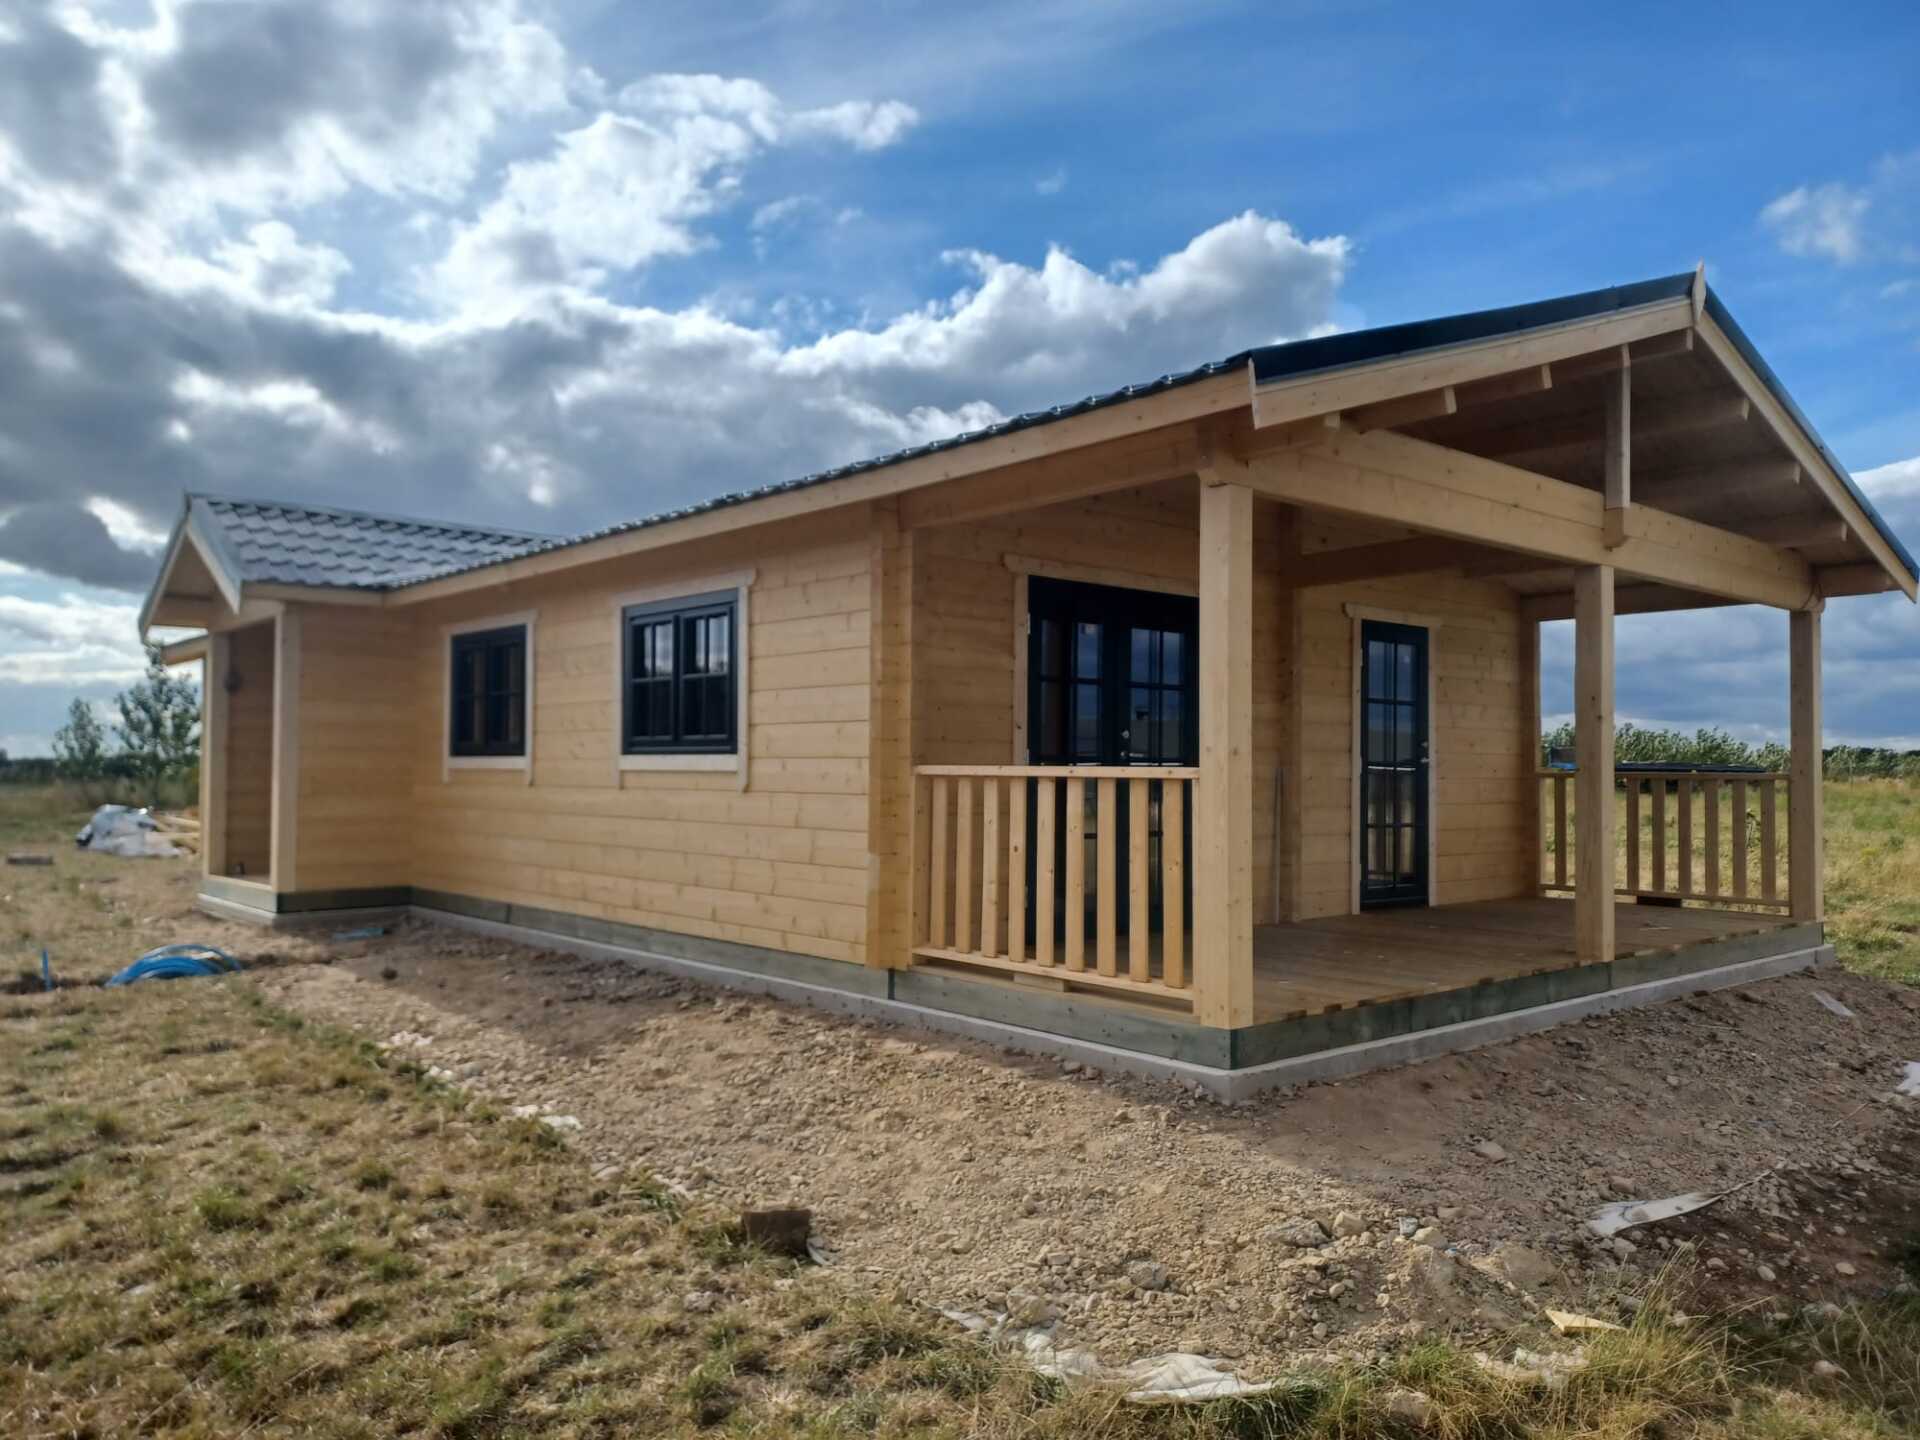
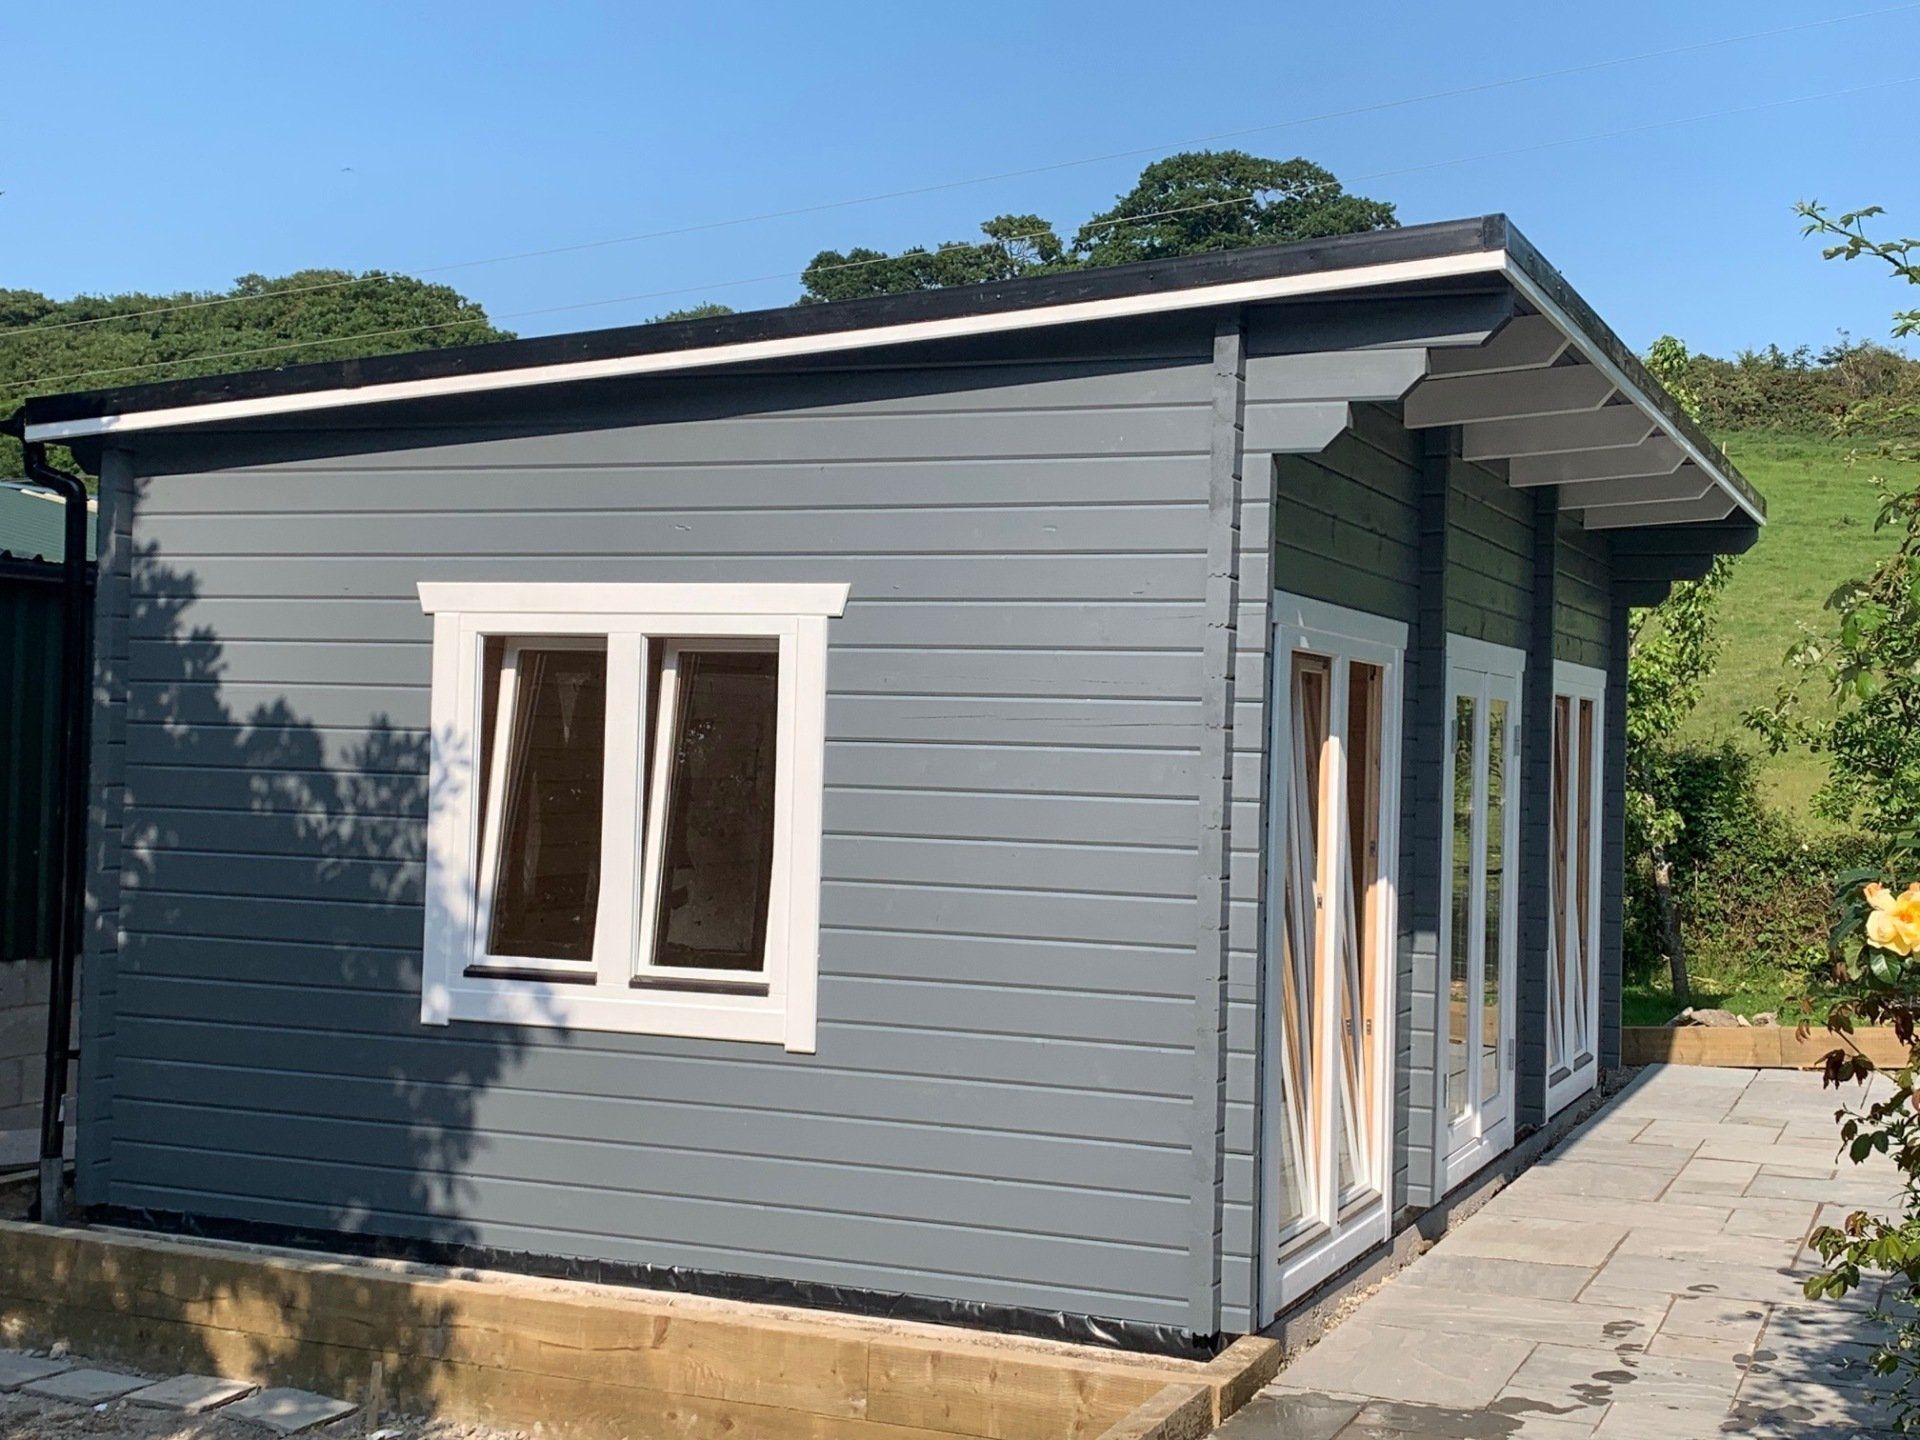
Are you looking to build a shed, garden cabin or outdoor structure that's strong and sturdy? If so, you'll want to make sure it has a firm footing. Having a good concrete base in place is essential for providing your building with a secure foundation — preventing problems like cracking and shifting down the line. It might seem like an intimidating task at first, but we're here to show you why installing your own concrete base isn't as complex as it seems — and just how beneficial this extra step can be in protecting the integrity of your new shed or cabin!
Having a concrete base for sheds and cabins is essential for a number of reasons. First and foremost, it helps to ensure the stability of the structure and can help prevent damage from shifting or sinking over time. Additionally, it provides additional insulation to keep the shed or cabin warmer in the winter months, as well as provide an extra layer of protection against moisture. Another benefit is that it helps to reduce noise transfer which can be beneficial if you need to rest during the day or want to avoid loud noises from outside sources. Finally, having a concrete base for both sheds and cabins adds an additional level of security; making it much harder for criminals or animals to access your property through the flooring.
When constructing a concrete base for your shed or cabin, there are a few important steps that should be taken before beginning work. First, you’ll need to make sure that your chosen area is clear of any debris or other obstructions like plants or trees. Also, ensure that you’ve chosen an area with adequate drainage so water doesn’t puddle around the foundation once completed. It’s also critical that you properly prepare your substrate layer (which could include gravel and sand) prior to pouring your concrete; this will help the concrete bond better with its surrounding environment and ultimately provide more stability over time. Finally, you should make sure to use enough rebar when pouring your concrete so that it holds up effectively against extreme weather conditions like heavy winds or snowstorms.
Overall, having a concrete base for sheds and cabins is incredibly important because it helps keep them structurally sound as well as provides insulation against cold temperatures in winter months. By taking the necessary steps when preparing and pouring your foundation (including properly preparing its substrate layer), you can ensure that these simple steps will save you countless headaches down the road!
Benefits of having a concrete base include:
1. Increased Strength and Durability:
Concrete is an incredibly strong material, making it ideal for constructing buildings that need to withstand extreme weather conditions or other environmental factors. A concrete foundation is resistant to mold, rot, decay, and even fire. This makes it ideal for any structure that will be left outside in the elements. Unlike other materials, such as asphalt or wooden boards, concrete can maintain its integrity over time without frequent repairs or maintenance. A concrete base will provide support for any item placed on top of it, including large furniture pieces and heavy machinery. This allows you to store heavier items in your shed or garden cabin without worrying about them causing structural damage due to lack of proper support.
2. Improved Fire Resistance:
Buildings with concrete foundations are better able to withstand fire damage than those with wooden foundations, as concrete does not burn easily and is less likely to collapse during a fire.
3. Better Insulation Properties:
Concrete is a great insulator of heat and sound, which helps keep energy costs down in buildings by trapping heat indoors when the temperature outside drops. It also helps keep noise from transferring between rooms in the same building or between neighbouring buildings, making it an important element in soundproofing your home or office space.
4. Lower Risk of Moisture Damage:
Moisture can cause serious damage to wooden foundations, but concrete is much more resistant to moisture damage over time because it doesn't rot or warp like wood does. As such, having a concrete foundation installed will help protect the structure from dampness and mould growth over the years.
5. Very Energy Efficient:
Due to its natural insulation properties, having a solid concrete foundation will help maintain comfortable temperatures inside your home without requiring large amounts of energy for heating or cooling systems. This can result in significant savings on utility bills throughout the year!
6. Cost Effective:
Concrete is one of the most cost-effective options when it comes to creating foundations for sheds and garden cabins since you only need to pay for the material and labour involved in pouring the slab itself once (unless repairs are needed). The cost savings over time make this option far more attractive than having to replace decaying materials such as wood boards over time due to rot or decay, which can become costly in the long run.
Get Ready to Build: Understanding the Necessary Thickness for a Concrete Base for Sheds and Cabins
Building a strong and sturdy shed or cabin foundation can be a daunting task for any DIYer. Even experienced craftsmen who have worked on many types of foundations should take their time to understand exactly what thickness needs to be used for their projects' concrete bases. In this blog post, we will walk you through the basics of determining the correct thickness for your shed or cabin's base, regardless of the size and weight limits it needs to accommodate. We'll go over why you need a concrete base in the first place and how strength and function affect each other when it comes to finding the right dimensions. By understanding these key elements, building with confidence won't seem like such an overwhelming task anymore!
Strength vs Function: Factors to Consider When Choosing The Right Thickness
When it comes to the thickness of a material, deciding between strength and function can be difficult. While a strong material can provide robust protection, sometimes it isn't completely necessary or practical for certain applications. On the other hand, if a material is too weak, it may not be able to withstand the load or function correctly. Therefore, it's important to consider both strength and function when deciding on the right thickness of a material.
Strength generally refers to how much stress a material can handle before breaking or deforming. In order to evaluate strength, you will need to consider factors such as the material's tensile strength and its ability to resist bending or flexing. However, higher strength doesn't always mean better performance — in some cases, having too much strength can actually lead to cracking or other issues due to over-stressing the parts. Therefore, when selecting a thickness for an application, you should ensure that it is sufficient enough for your needs without risking damage from over-stressing.
Functionality is also an important factor when determining which thickness is appropriate for an application. Depending on what type of product you are designing, you may need certain features or requirements that require specific dimensions or weight capacities. For example, if you're designing an airplane wing spar, you'll need one that has enough structural integrity and stiffness in order to make sure it won’t fail during flight. On the other hand, if you're creating components for medical equipment or consumer products like mobile phones then lighter materials with lower tensile strengths could be more suitable as they are usually easier and cheaper to work with while still providing sufficient protection and functionality.
Overall then, finding the right balance between strength and function can be tricky since there are so many factors at play. However by taking into account both factors separately and assessing each one thoroughly before making your decision should help lead you towards making the best possible choice for your particular situation and application.
Step-by-Step Guide to Calculating the Correct Thickness for Your Shed or Cabin’s Base
One of the most important considerations when building a shed or cabin is to make sure the base is built with the correct thickness. If it’s too thin, it won’t be able to support the structure and its contents. On the other hand, if it’s too thick, you’ll end up spending more money than necessary. Calculating the correct thickness for your shed or cabin’s base is an important part of the construction process, and following this step-by-step guide will help ensure your project turns out exactly right.
The first step in calculating the thickness of your shed or cabin’s base is to measure the dimensions of your chosen area. This includes length, width, and height. Be sure to write these down and keep them handy for later reference. Once you have all those measurements, multiply them together and divide by three to get a total cubic volume measurement in feet.
Next, you will need to determine what type of material will be used for your foundation walls. Different types of materials have different weight ratings that need to be taken into consideration when calculating thickness. You will also need to decide whether you are going with a concrete block foundation or a structural steel frame foundation as both can affect how thick your base should be as well.
Once you know what kind of material and frame you want to use for your foundation walls, it’s time to calculate how much weight each wall needs to hold in order to support your structure. Start by taking all of the items that will be stored inside your shed or cabin - such as furniture, tools, boxes, etc.- and estimate their combined weight in pounds (or kilograms). Then multiply this number by two (to account for wind load) before adding an additional 40% safety factor. This is called “live load” which is an essential part of determining how thick your foundation walls should be built so they can support all this weight safely over time without buckling or cracking due to shifts in temperature or ground moisture levels.
Finally, take this live load number and divide it by the total cubic volume measurement from earlier steps in order to get a value in pounds per cubic foot (or kilogram per cubic meter). This final number represents the minimum safe wall thickness required for your foundation walls based on all factors taken into consideration earlier on in the process - type of material used for construction, size & shape of building site chosen, estimated weight load inside shed/cabin once completed - so you can rest assured that everything has been accounted for correctly before moving forward with construction activities!
Tips for Successfully Building a Strong and Sturdy Foundation
When it comes to building a strong and sturdy foundation, there are many essential steps and tips that must be followed. The first step is to ensure the ground is level. This means that all areas of the foundation, from the corners to the sides and all in between, must be completely even. If there are any dips or valleys, it will compromise the integrity of the foundation. It’s also important to use a high quality mix of concrete for your foundation. The right combination of sand, cement, and aggregate is essential for creating a durable base that can withstand years of wear and tear. Additionally, take care when pouring the concrete into place; it should be poured evenly and without air pockets or cracks.
Another important factor when building a strong foundation is drainage. If your area has poor drainage it can lead to water pooling around your foundation which can cause damage over time due to moisture entering the walls or floors. To avoid this problem you should make sure you install proper drainage measures such as gutters or French drains around your home before pouring concrete for your foundation.
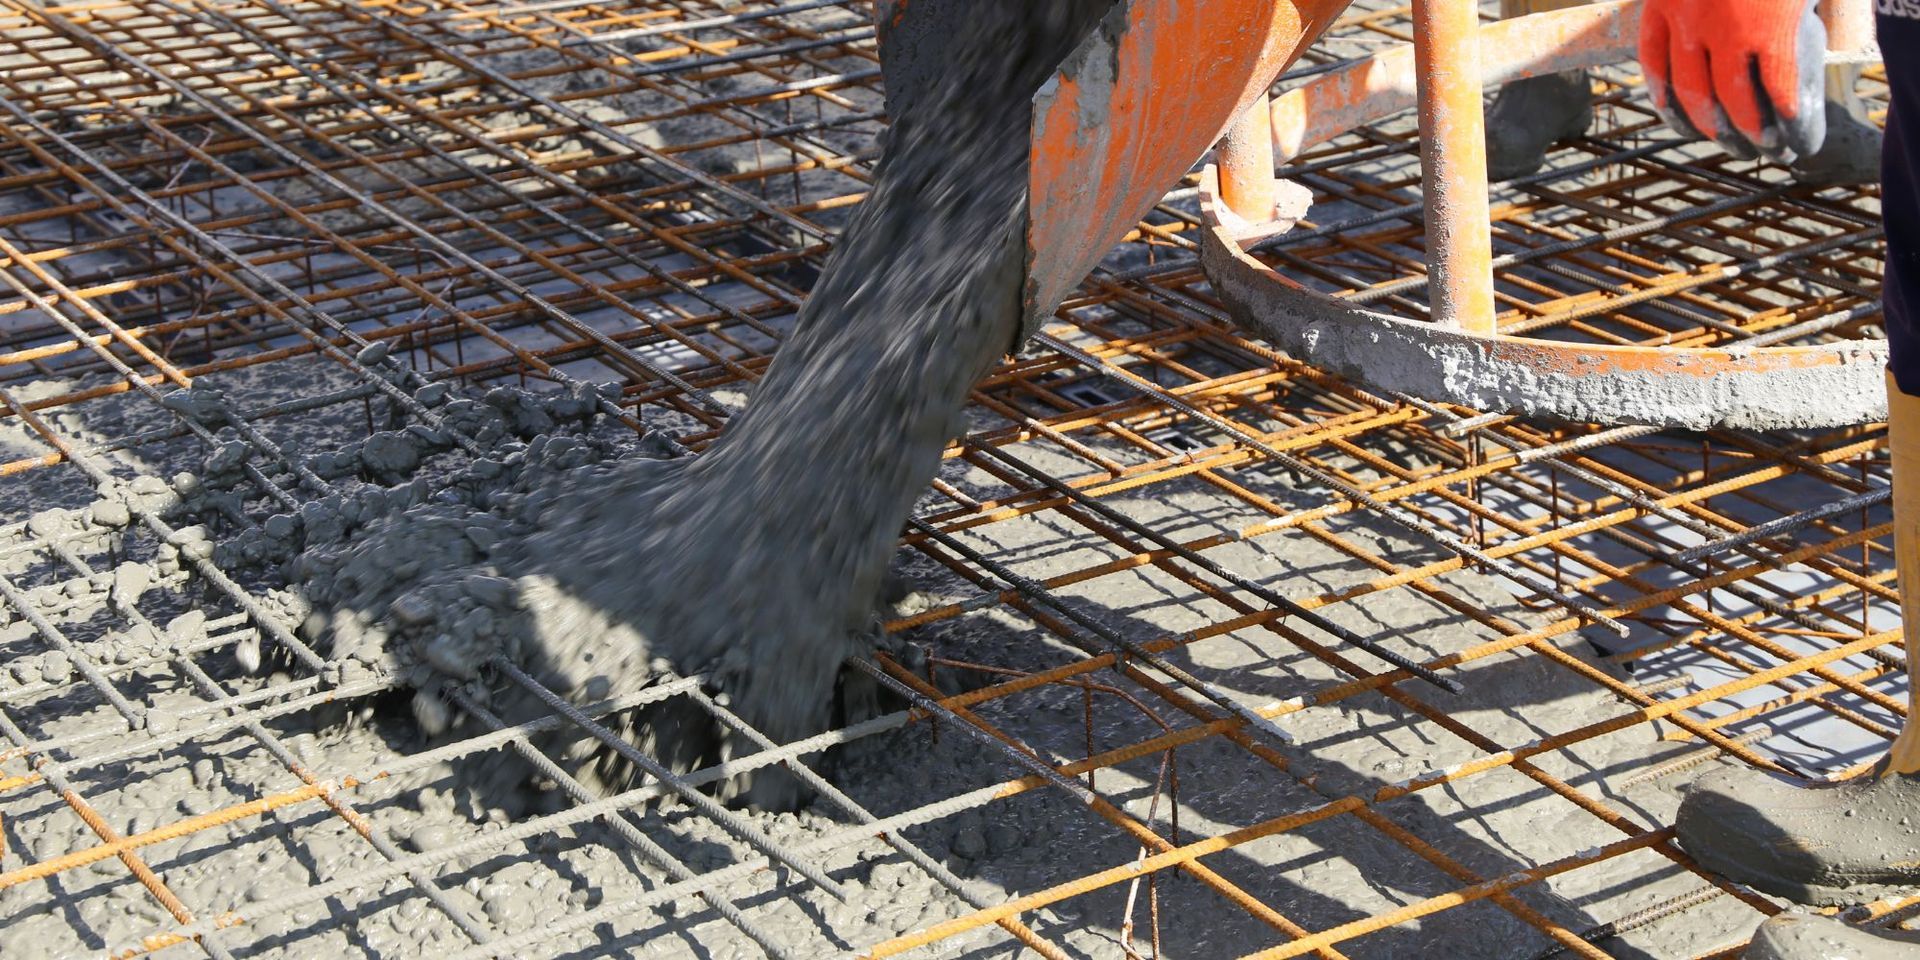
The last tip for successfully building a strong and sturdy foundation is using reinforced steel rebar in your pour mix. Rebar helps strengthen the concrete mixture by providing extra support so that it doesn’t crack under pressure or shift over time. When installing rebar, make sure to evenly space them throughout the entire area of your pour so that they provide uniform support throughout every part of your foundation structure.
Following these tips will help ensure that you have a strong and stable foundation on which you can build upon safely for many years to come!
Step-By-Step Guide to Installing Your Own Concrete Base
Step 1:
Gather all of the necessary materials, including concrete mix, gravel, and reinforcing material.
Step 2:
The first step in constructing a shed is to mark out the area for the slab, making it larger than the shed itself and allowing extra space for formwork. Wooden pegs should be driven into each corner of this marked-out area and string strung between them. To ensure that all four corners are square, measure both diagonals; if they do not match exactly then adjustments need to be made.
Step 3:
Dig out the area to make room for the concrete base. Make sure to create a deep enough trench so that it can hold your desired thickness of concrete.
A 100mm sub-base and damp-proof membrane should be laid below slab level. To achieve this, a level-bottomed pit must be dug that is 100mm deep. All grass and other vegetation, stones, and debris must be removed before compacting the earth. A micro excavator can make light work of the digging process.
Step 4:
A hardcore sub-base is required for laying a concrete base on soft ground. MOT Type 1 hardcore is the recommended material and can be found in jumbo packs at DIY stores and trade suppliers. The gravel sub-base should then be compacted using a vibrating wacker plate, followed by spreading a layer of sand to prevent any chance of puncturing the damp-proof membrane.
Step 5:
With your slab project, the success is all in the preparation! You'll need to construct a timber frame same size as what you're building. Make sure it's square and level on all sides - afterall, no one wants an off-kilter shed! Then drive posts into the ground around this framework at roughly 1m intervals; they will help keep planks from shifting under concrete weight. Level checks are key here too so make use of that trusty spirit level. Voila: solid base material ready for action!
Step 6:
Create a damp proof membrane with heavy-duty plastic sheeting! Create a tray under the sub-base by laying out and turning up the edges of some formwork. If you have any joints, make sure to overlap them before taping everything in place. This will do double duty: it'll help keep the concrete from cracking due to rapid drying plus minimise condensation problems inside your new structure - all good reasons why taking an extra minute or two is worth it!
Step 7:
Working with concrete is a speedy process so it's essential to have everything ready beforehand. Keep yourself safe and wear the appropriate protective gear - long sleeves, trousers, gloves, boots and safety goggles are obligatory! It isn't just your skin you need to protect; 40 wheelbarrow loads of wet cement can cause some serious damage if not handled correctly. The key thing here? Teamwork makes light work as moving this much material around won’t be easy without an extra pair of hands – that’s why two people should always operate when working with concrete!
Prepare your concrete mix according to instructions on the packaging and begin pouring it into the trench. Use a trowel or other tool to spread and level it out as evenly as possible. To ensure your concrete stays sturdy and crack-free, be sure to cover it with a raised polythene sheet. This way, drying time is slowed down so you don't have to worry about any unwanted cracks in the future!
Allow your concrete to cure for at least 48 hours before walking on it or using it in any way. After curing is completed, your concrete base is ready for use!
Conclusion: Overcoming the Challenges of Building a Shed or Cabin Foundation
There are many challenges to building a shed or cabin foundation, but with some preparation and planning, these can be overcome. The first step is to determine the size of the structure you’d like to build, as this will determine the type of foundation you’ll need. Your location will also have an impact on your choice of foundation; for instance, if you live in a wet climate, you may need to use stilts or piers to raise the structure above ground level for better drainage. Another important factor is soil composition; certain types of soil may require additional support from footings or pilings.
Once you’ve determined your needs, it’s time to plan out your materials and design. Consider the specific materials that are best suited to your project and how they can provide support and stability. You should also think about whether there are any codes or regulations that apply in your area; local rules may require specific types of foundations depending on their purpose and location. Finally, make sure that you take safety into account when designing your project; it’s important to ensure that the structure is stable enough to resist wind or snow loads as well as seismic activity if applicable.
With careful planning and research, building a shed or cabin foundation can be an achievable goal even with its associated challenges. It is essential that every detail has been considered before beginning construction, as a strong and safe foundation is key for ensuring structural integrity down the road. However, with enough time and effort put into preparing for this task ahead of time, anyone can successfully build a sturdy foundation for their shed or cabin!
Building a strong, durable and safe shed or cabin foundation is key to creating lasting structures. There are a variety of ways to ensure that your home or additional space has a solid footing, from understanding the strength of differing thicknesses for added support to researching the grade and shape of your land for optimal installation. Ultimately, it's important to consider the specific needs of your project and these fundamentals before beginning construction in order to overcome any challenges and achieve an ideal foundation. Though this may seem daunting at first glance, many DIYers have found success working step-by-step through estimation equations to calculate how much concrete they'll need. With the right base, you’ll be setting up a strong foundation for years of experiences in your new home or hobby room.


